Messages lets you send a communication directly to parents and carers for individual pupils, a class, a year group, or the whole school. Parents receive the message in the GroupEd parent app and can reply — their replies appear in your Messages inbox.
## Step 1 — Open the Messages page
1. Go to **Communications → Messages** (`/#/messages`).
2. Tap **+ New Message** in the top right of the page. The compose screen opens.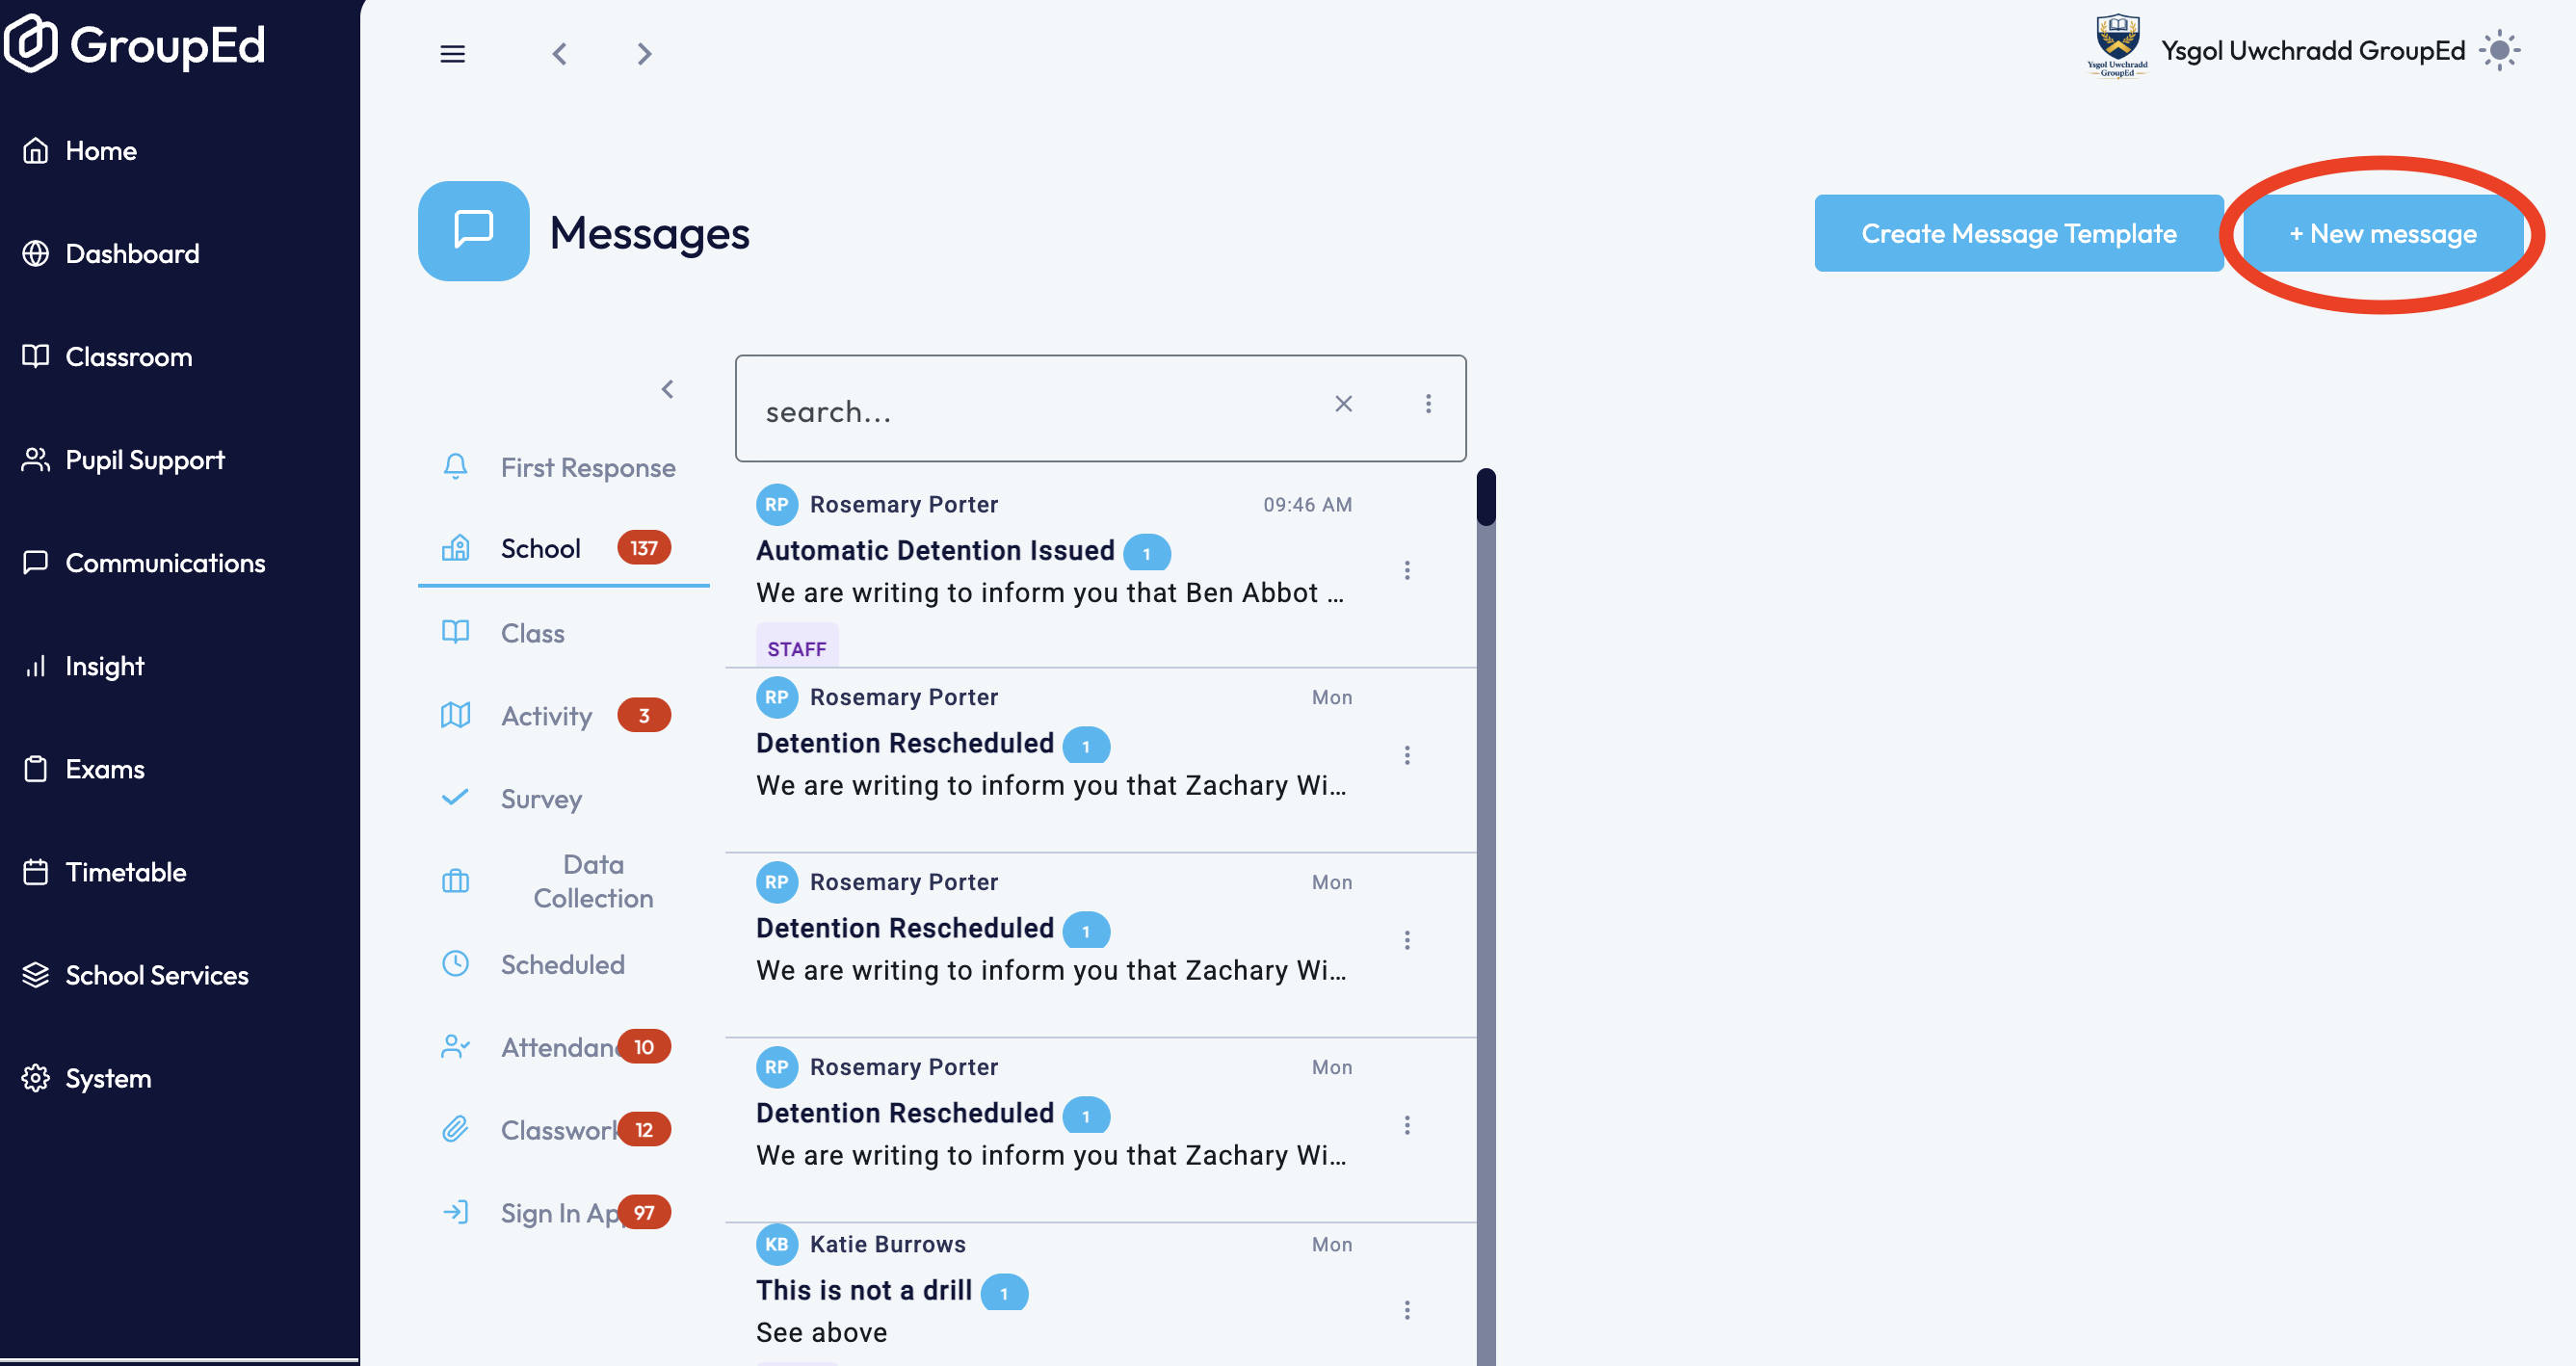
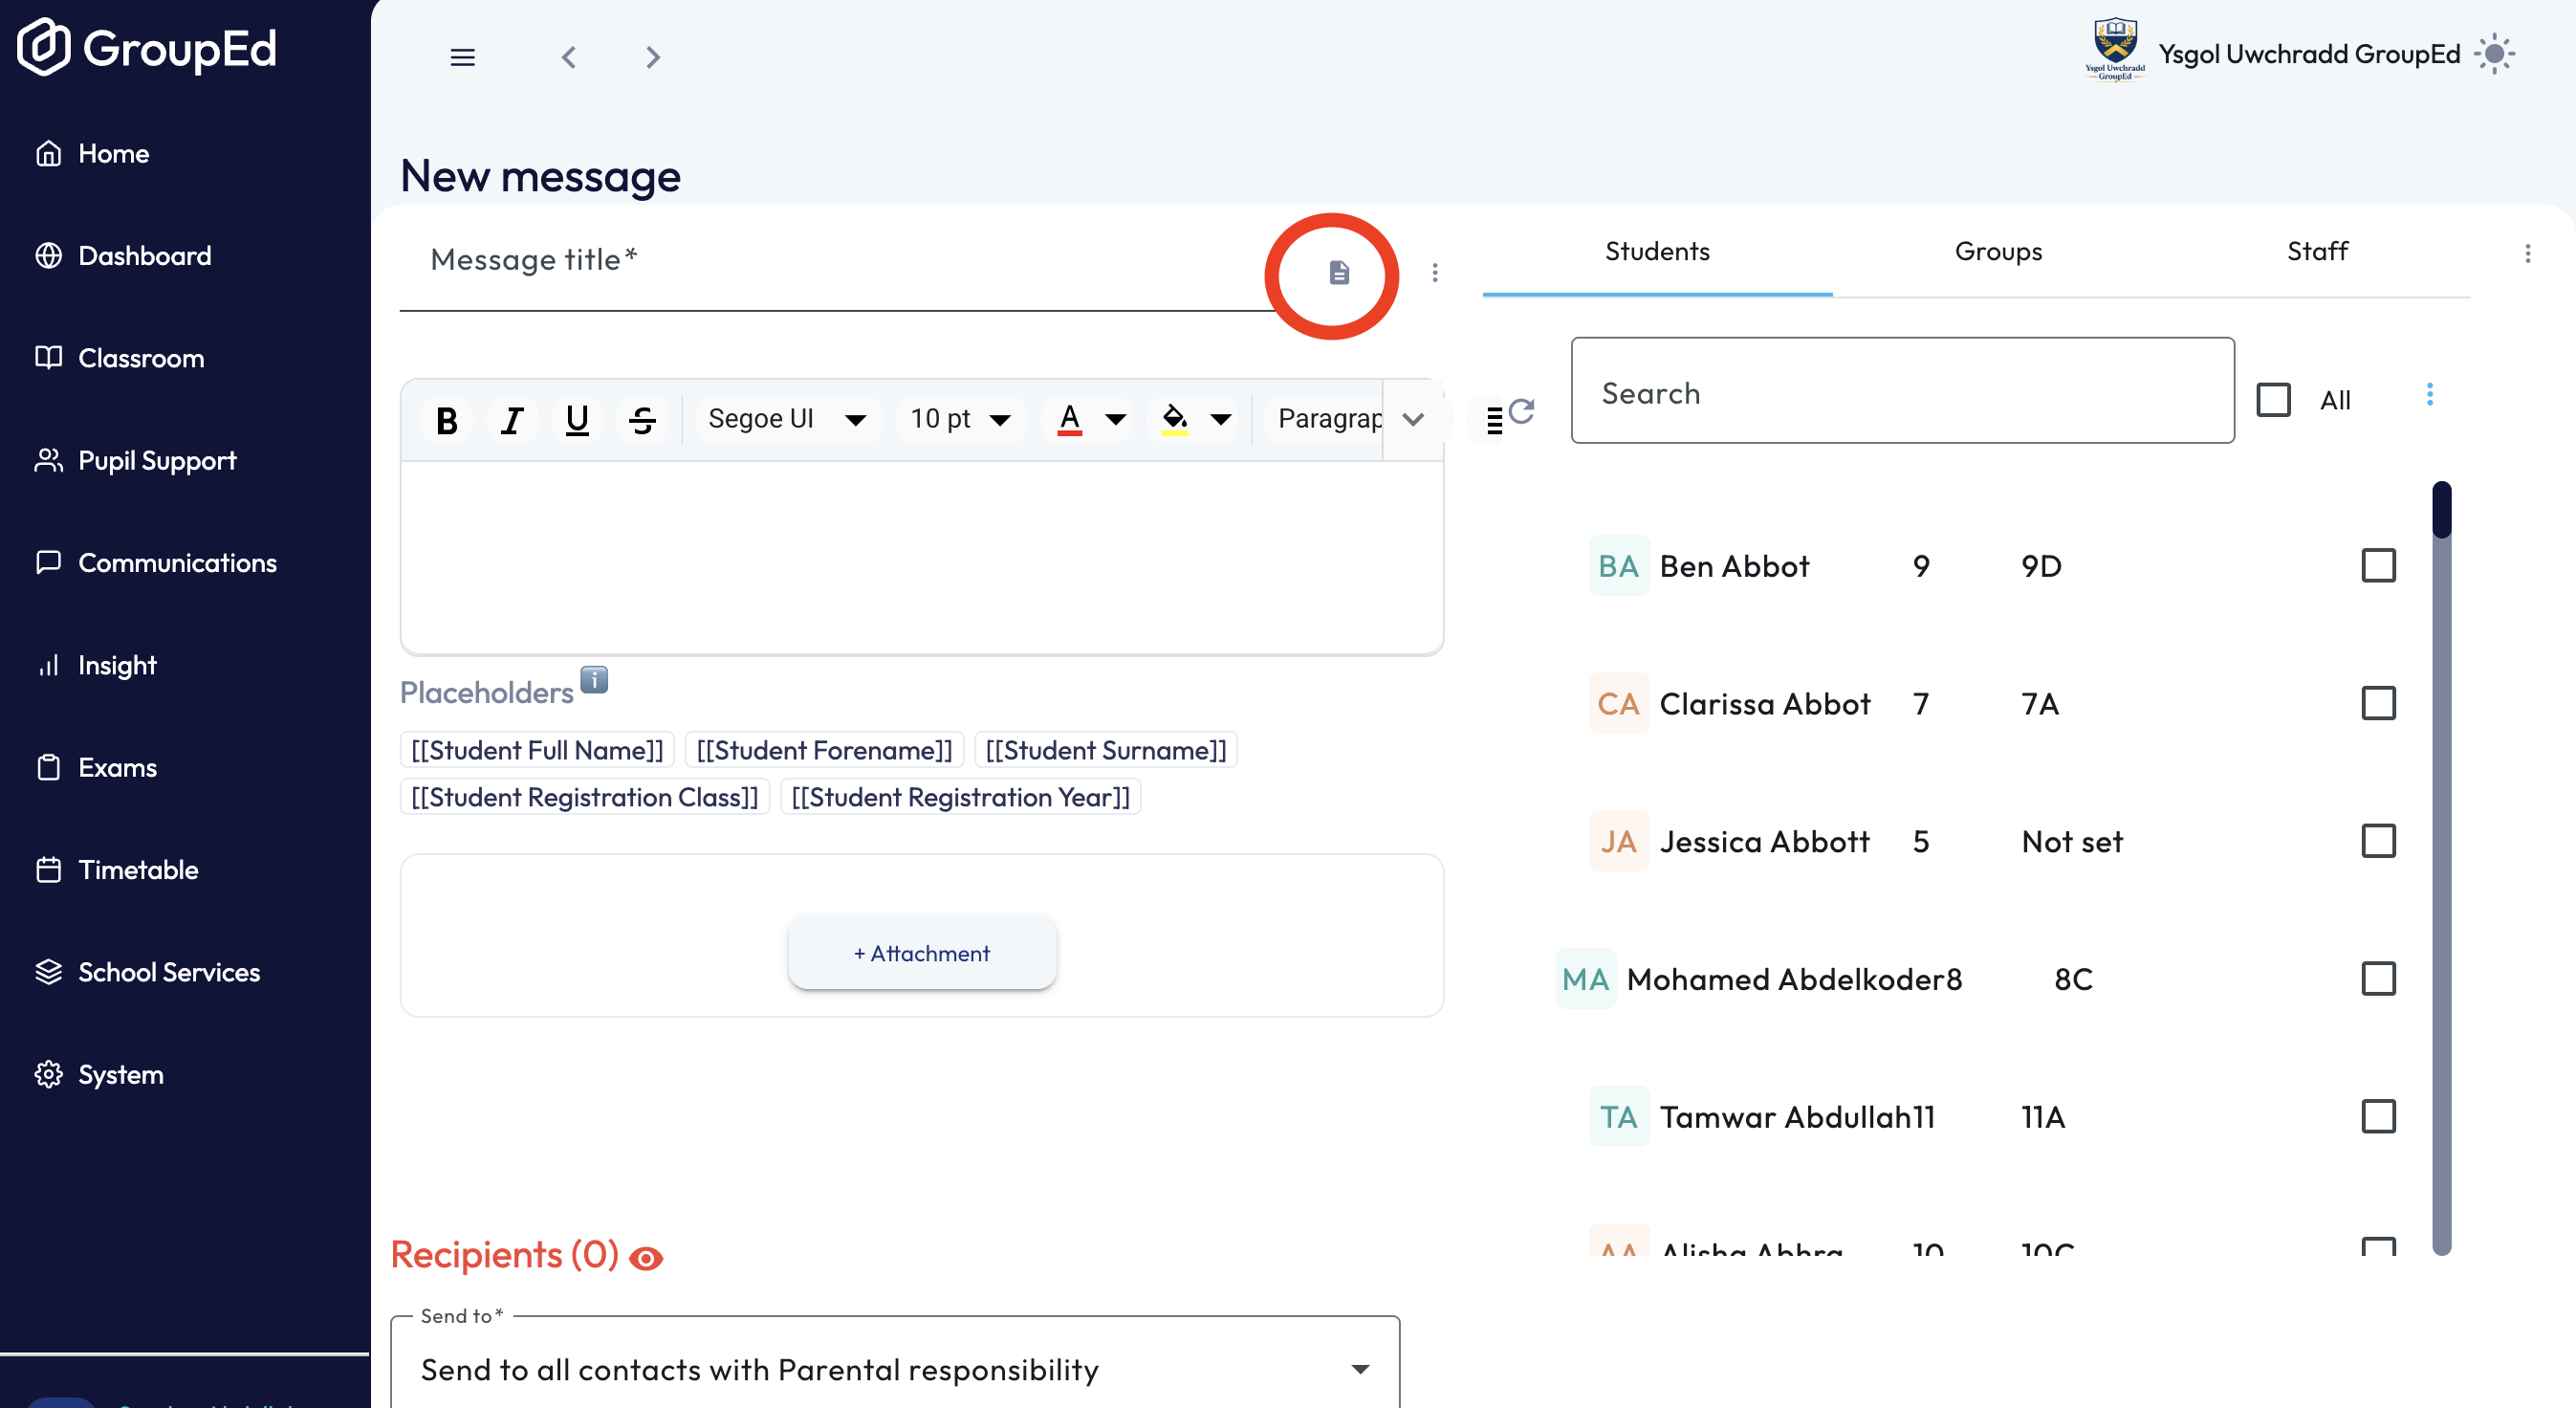
Tip: To load a saved message template into the compose screen, tap the **document icon** next to the message title field.
## Step 2 — Write your message
## Step 2 — Write your message
### Message title
Enter a title for your message. This is required and is what parents see as the subject line.
### Message body
Use the rich text editor to compose your message. The toolbar gives you full formatting control:
Bold, Italic, Underline, Strikethrough, Font name, Font size, Font colour, Background colour, Paragraph format, Alignment, Numbered list, Bullet list, Insert link, HTML source view, Undo, Redo, Insert image
### Using placeholders
The **Placeholders** panel beneath the editor lets you insert variables that are automatically replaced with each pupil's data when the message is sent. Click a placeholder to insert it at your cursor position:
| Placeholder | Replaced With |
| [[Student Full Name]] | Pupil's full name |
| [[Student Forename]] | Pupil's first name |
| [[Student Surname]] | Pupil's last name |
| [[Student Registration Class]] | Pupil's registration class |
| [[Student Registration Year]] | Pupil's year group |
Tip: Tap **Preview Message** before sending to see how the placeholders look with real pupil data filled in.
### Attachments
Use the file uploader beneath the editor to attach documents, images, or PDFs to your message. Images and PDFs are previewed in the compose screen.
## Step 3 — Select recipients
The recipients panel on the right side of the compose screen has three tabs:
**Students** — search for and select individual pupils (message goes to their contacts)
**Groups** — select a class or year group (all parents/carers for that group)
**Staff** — select staff members for internal communications
Use the **Send to** dropdown below to control which contacts receive the message (e.g. main priority contacts only, or main and secondary).
Selected pupils and groups are listed under their respective headings in the **Recipients** area. Remove any by tapping the × on a chip.
### Enable contact replies
Below the recipients panel, an **Enable contact replies** toggle controls whether parents can reply to this message. Turn it on if you want a two-way conversation; turn it off for one-way announcements.
## Step 4 — Send or schedule
**Preview Message** – Opens a read-only preview with placeholders replaced by real pupil data
**Send Message** – Sends the message immediately to all recipients
**↓ (dropdown arrow)** – Opens the schedule menu — see below
### Scheduling a send
Tap the **arrow** next to the Send button to schedule the message:
**Tomorrow at 9:00 AM** — sends the next morning at 9am-
Tap the **arrow** next to the Send button to schedule the message:
**Tomorrow at 9:00 AM** — sends the next morning at 9am-
**Monday at 9:00 AM** — sends the following Monday at 9am (useful on a Friday)
**Custom time** — pick any date and time
Scheduled messages appear in the **Scheduled** category in your Messages inbox. You can open a scheduled message to edit or cancel it before it sends.
Was this article helpful?
That’s Great!
Thank you for your feedback
Sorry! We couldn't be helpful
Thank you for your feedback
Feedback sent
We appreciate your effort and will try to fix the article